
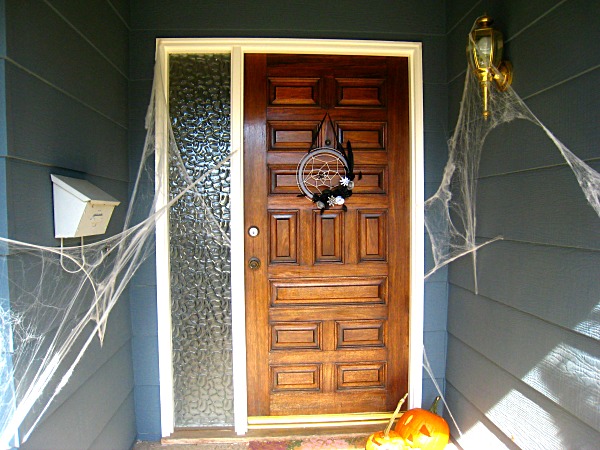
Ever hear of the word “Procraftination?” Well, the fact that I’m posting my Halloween wreath a week before Halloween is a prime example. I’m WAAAY behind in the craft world. In blogland, this should have been done a month ago. Like that wise person once said, “Better late than never!”
I seriously thought about saving this post for a whole year and actually having it prepared for next Halloween, but I just couldn’t wait to share it’s cuteness.
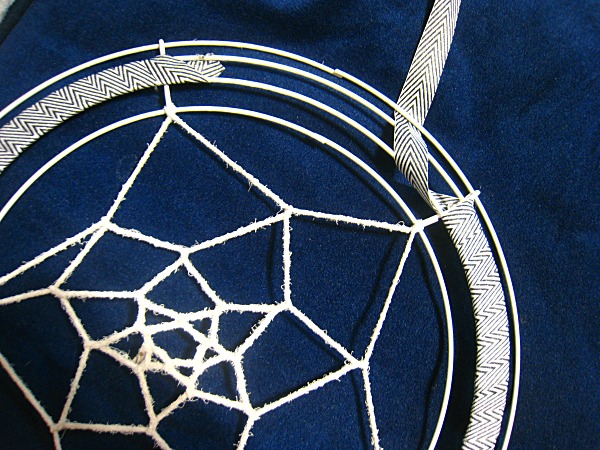
Have you noticed how popular wreaths are becoming among crafters? Maybe they’ve always been that popular and I’m just now noticing? I thought maybe I better take the plunge and make one myself. Essentially my wreath is just a dreamcatcher turned spiderweb. Come to find out, dreamcatchers are really easy to make, so this project can be done in an afternoon (which is good because you only have a week until Halloween!). I used a couple of pins from Pinterest to help me find what I was looking for. I had to look at a few tutorials before I actually figured out the dreamcatcher/web part. While it is really simple, it’s hard to make a tutorial to show the weaving process. Here are a couple of pins to look at: This one isn’t actually in English, but you really just need the photos to get a good grasp on it. In this tutorial from This Fashion is Mine, the loops are done a little different (that’s the one I used). I think it’s a little more secure than the other, but either is a fine choice.
You need a floral wire wreath to make your dream catcher. They don’t make these any any other color than green (that I’ve noticed), so you’ll have to spray paint it. I ended up making the spiderweb first and spray painting the entire thing. The wreath is essentially an extension of the web, so painting them both makes a more cohesive look.
The next step is applying the ribbon. I used about 3 yards of a ⅝ inch ribbon and overlapped it a little as I wrapped. If you use a thicker ribbon, you might not need to use as much, though I wouldn't recommend going too much thicker because it tends to pucker.
For the flowers, I found this tutorial from SNAP! for a sort-of ranunculus type flower and copied a couple of flowers from Kiki&Company’s wreath tutorial (which is absolutely amazing). The wreath tutorial requires a Cricut machine (which I currently don’t have), but it was simple enough to make without it. Just fold a small rectangular strip of paper in half and cut fringe along the folded side. Roll, glue and spread out the pedals to form the flower.
Once you have your flowers, start gluing (with hot glue. I assumed I wouldn't need to specify, but there's always that person)! It’s a little tricky to glue the flowers to the wire wreath and you’ll end up using a lot of glue, but the ribbon helps to have something to secure it to. Once you've got it glued, add your feathers (or your own embellishments).
Don’t forget your spider!

No comments:
Post a Comment